This emblem was made for my cousin who was a very enthusiastic player in World of Warcraft in the Horde faction. As a blood elf mage in the game, this feeling of belonging also grows inside day by day that I want to carve it out.
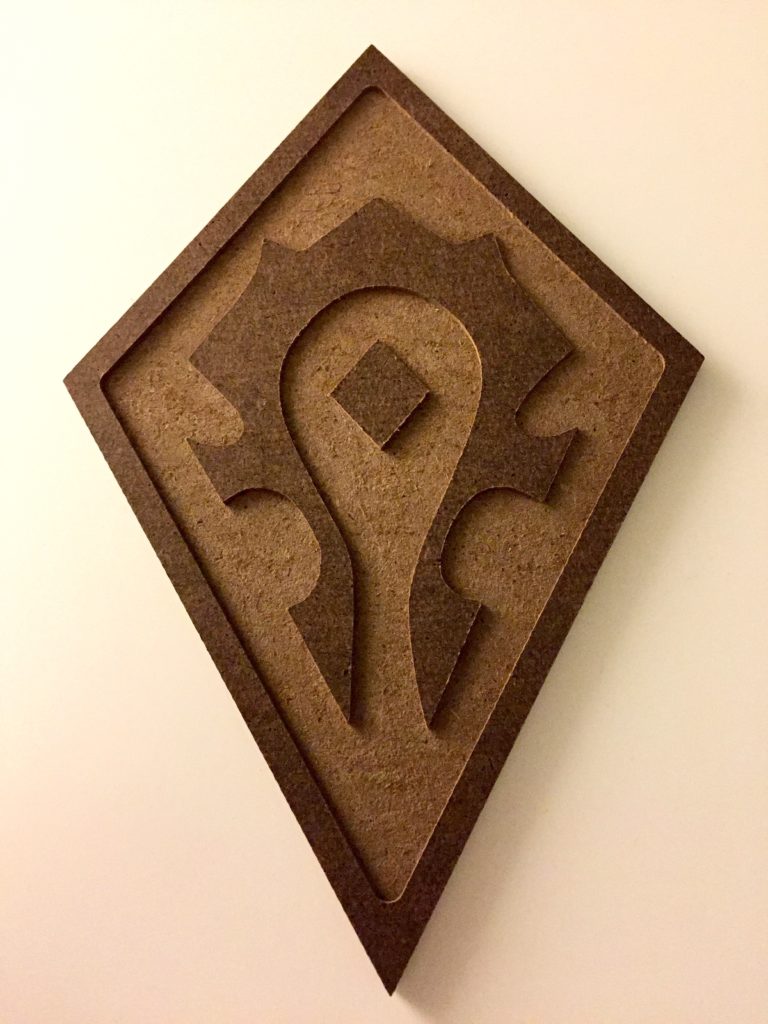
It is inspired by the Horde Crest, a representation of the main races in Horde faction.
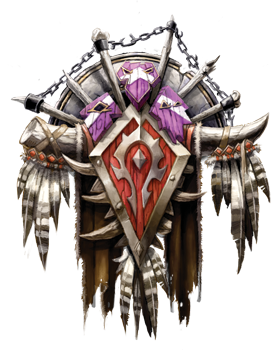
Step 1: Create vector outlines in Illustrator
Based on a image from Deviant Art, use image trace -> expand functions in Illustrator, I can get the edges easily.
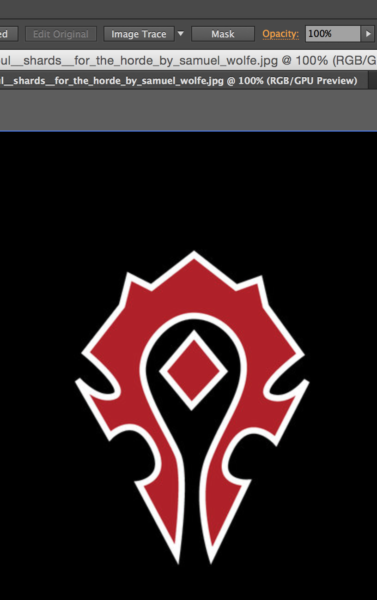
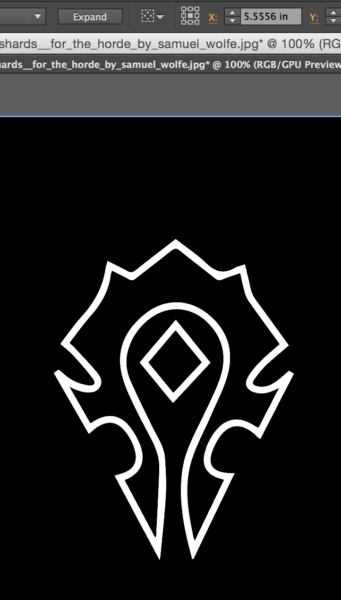
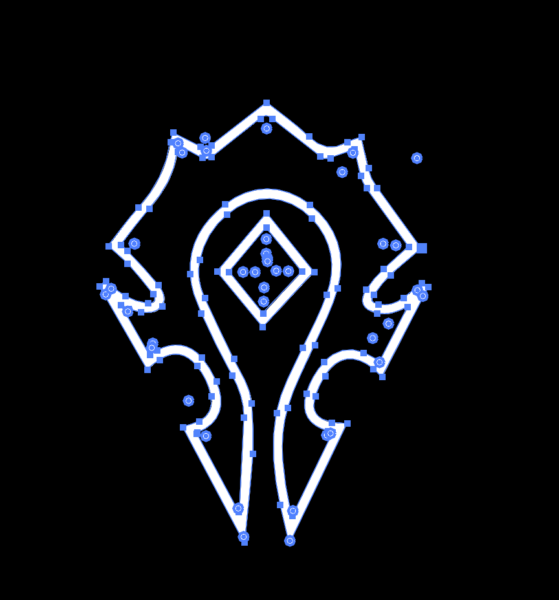
Step 2: Convert to Vectorworks file.
Because I want to draw some more outlines precisely, so I want to export the file to Vectorworks. Illustrator file cannot directly convert to Vectorworks file, but I can export it in .dwg in illustrator and open it in Vectorworks.
The hidden layers in illustrator will all show up in Vectorworks and maybe accidentally create additional cuts in CNC, so I used Ben Light’s trick, only copied and pasted the curves I want to use to a new Vectorworks file.
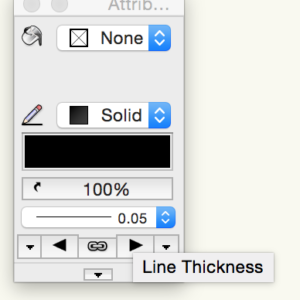
First export I find the lines much thicker than default, so I changed it to default 0.05, though I’m not sure if this matter.
Then I draw additional outlines and resize them to be around a palm’s size. (around 5.5″ x 8″ horizontally and vertically)
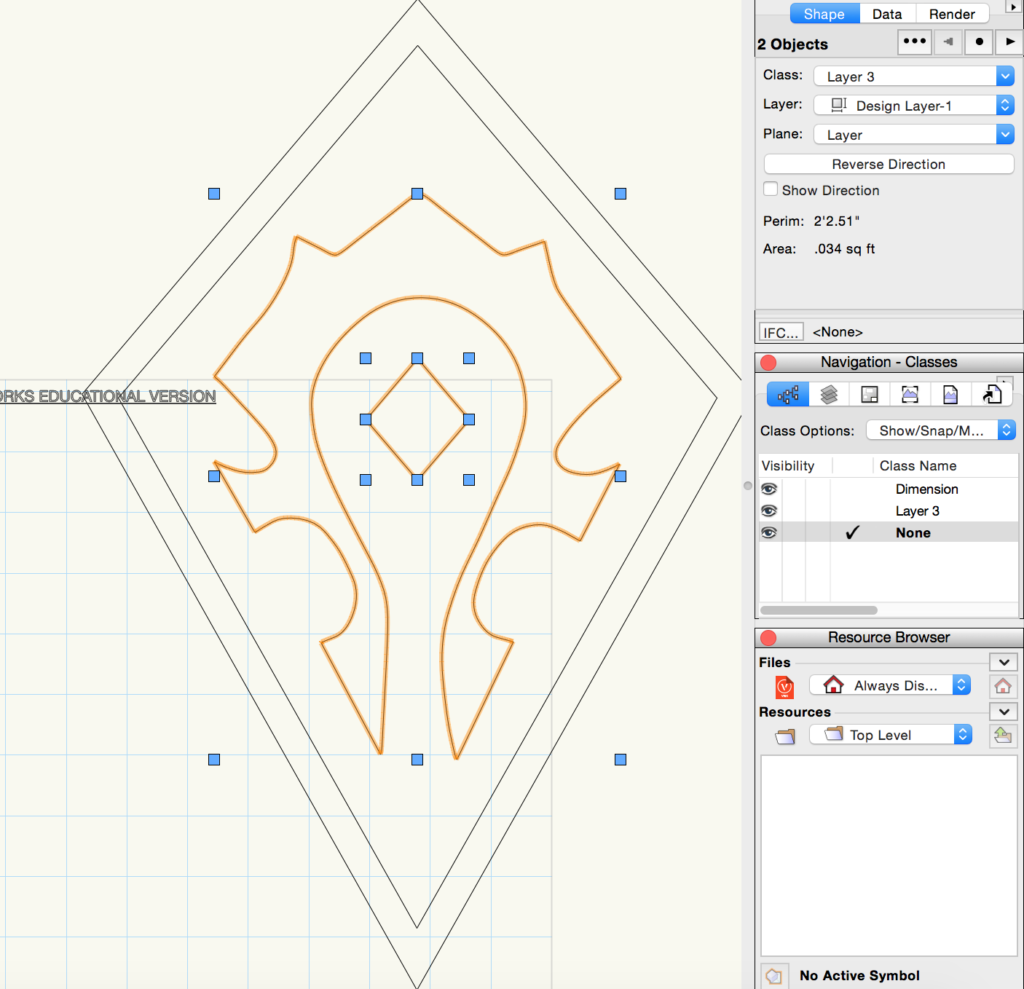
Everything seems good, then I export it to DXF/DWG again as CAD design file.
Step 3: MasterCAM settings
I wanted to carve down the areas inside the kite shape, and leave the logo area untouched by the machine. But at first it was quite frustrating I cannot select them all before making pocket with two islands.
The other day I found that I accidentally have two more straight lines in my Vectorworks file (that often happens when involving Illustrator). When the file is clean and again exported, Ben told me to hold Shift and click all three curves (inner kite and the two logo parts) I wanted involved in the pocket, and the direction of arrows doesn’t matter so much here (“clock out, count in” normally), and gladly this time MasterCAM was clever enough.
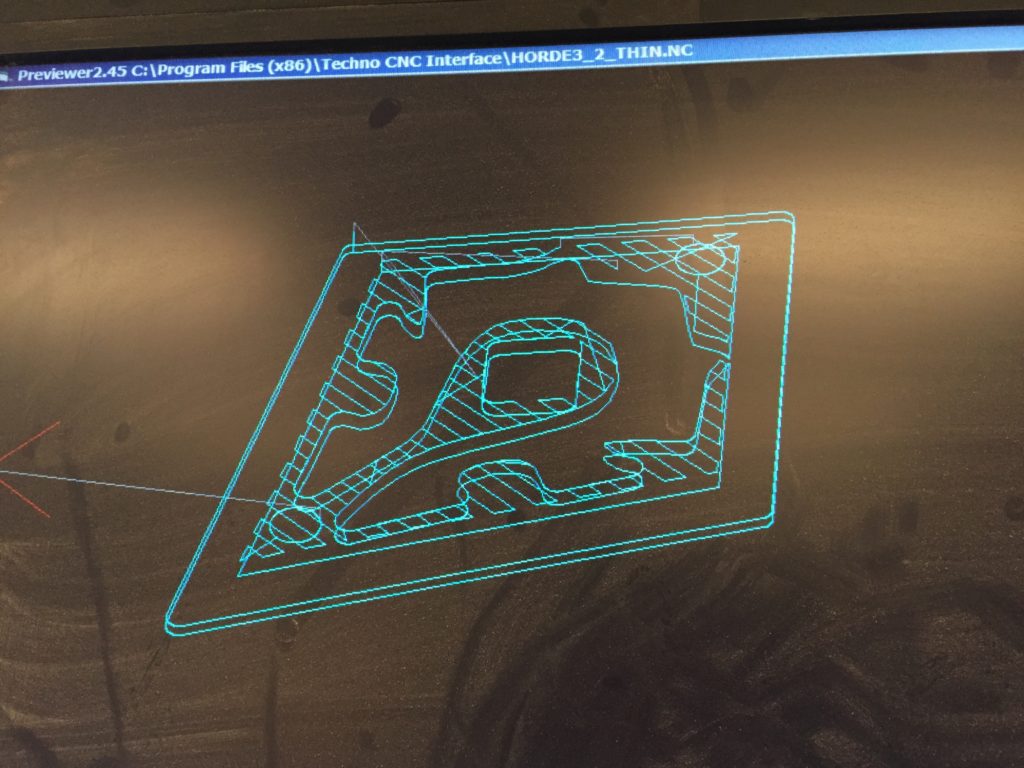
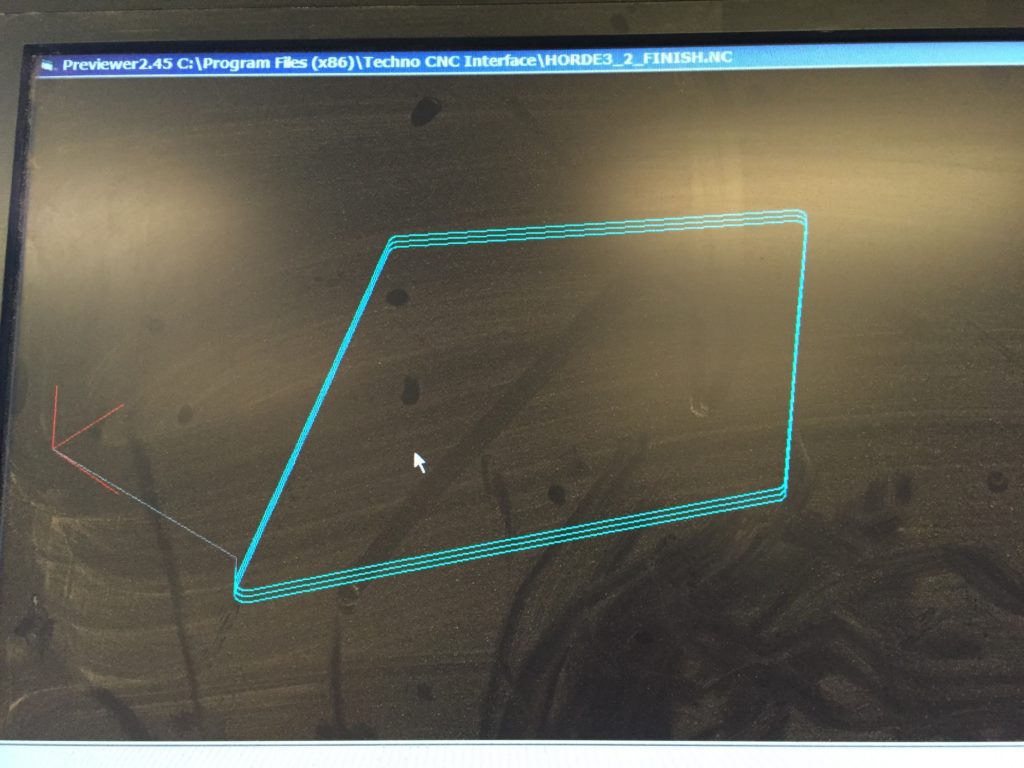
(This is actually the preview in CNC but almost the same)
Step 4: running the CNC
Before that I thought about using a 0.7″ piece but then think it too bulky. Then I find this 0.2″ MDF in recycler and it is said to be really CNC friendly, and I like the color. (So actually in MasterCAM I set contour be -0.2″ and pocket be -0.1″)
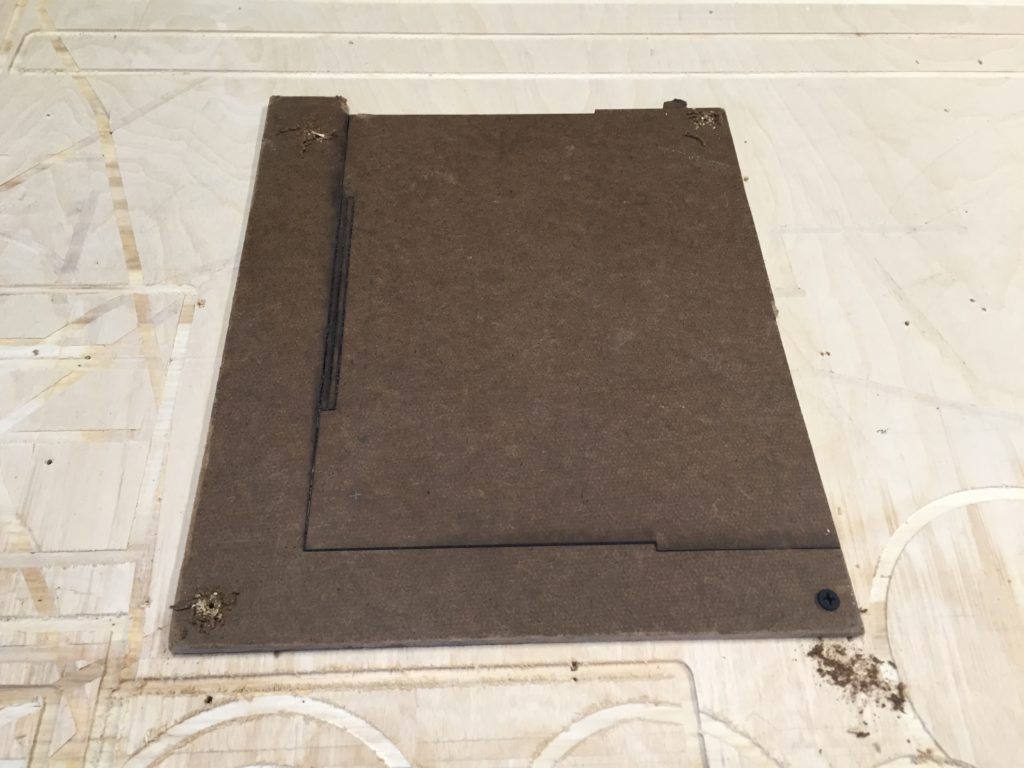
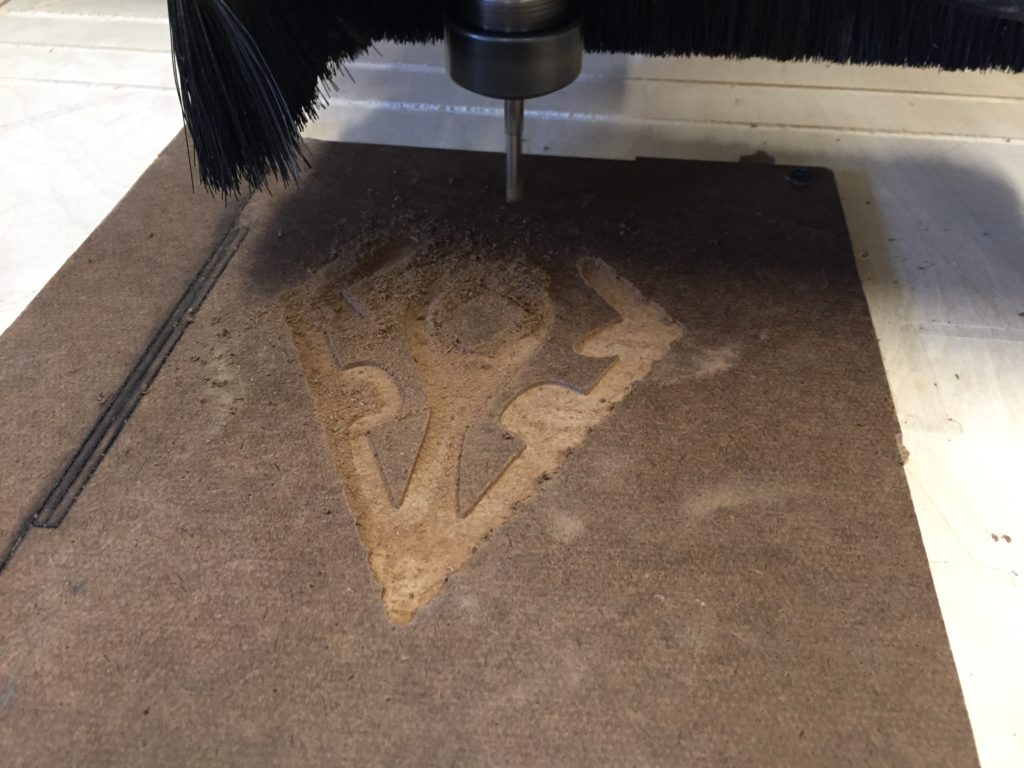
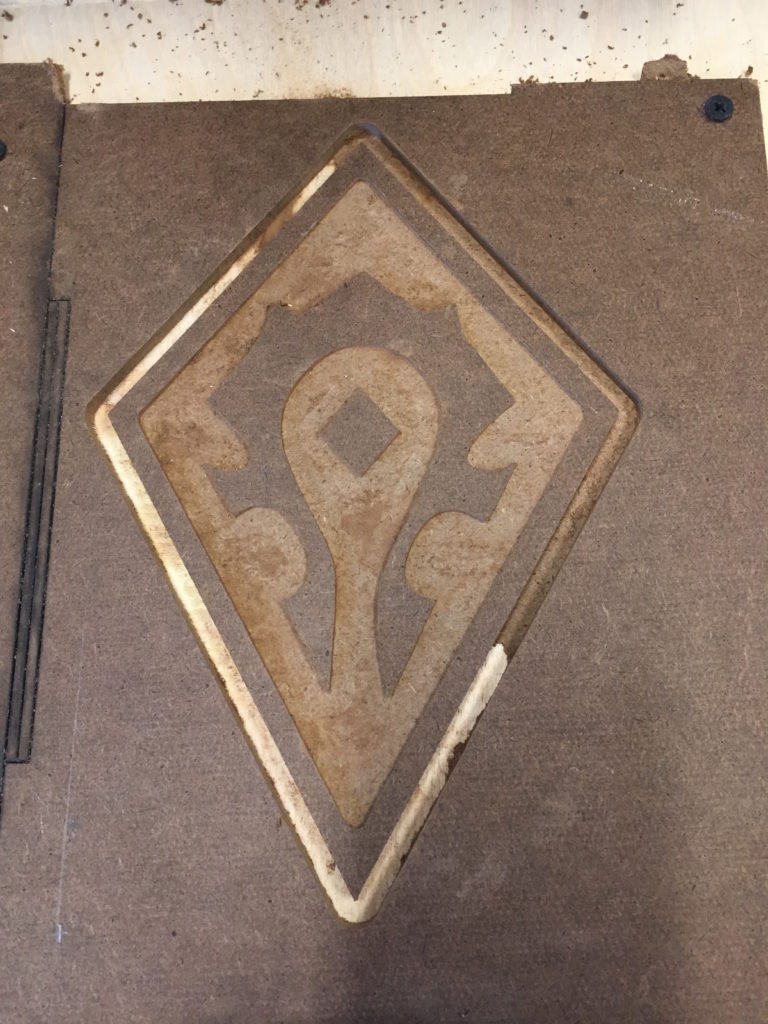
Since it’s thin it only takes 4 minute at max. But something bad happened – the cutout was not as clean as thought even MasterCAM had 0.05″ additional depth for cutout in settings. I leave the CNC the untouched (so the origins remain the same) and quickly created another file that only have contour operation, so I can run the outline a little deeper once again to finish the cutout.
Luckily the outline was super clean after I ran it deeper, as you can see from the spoiler board below.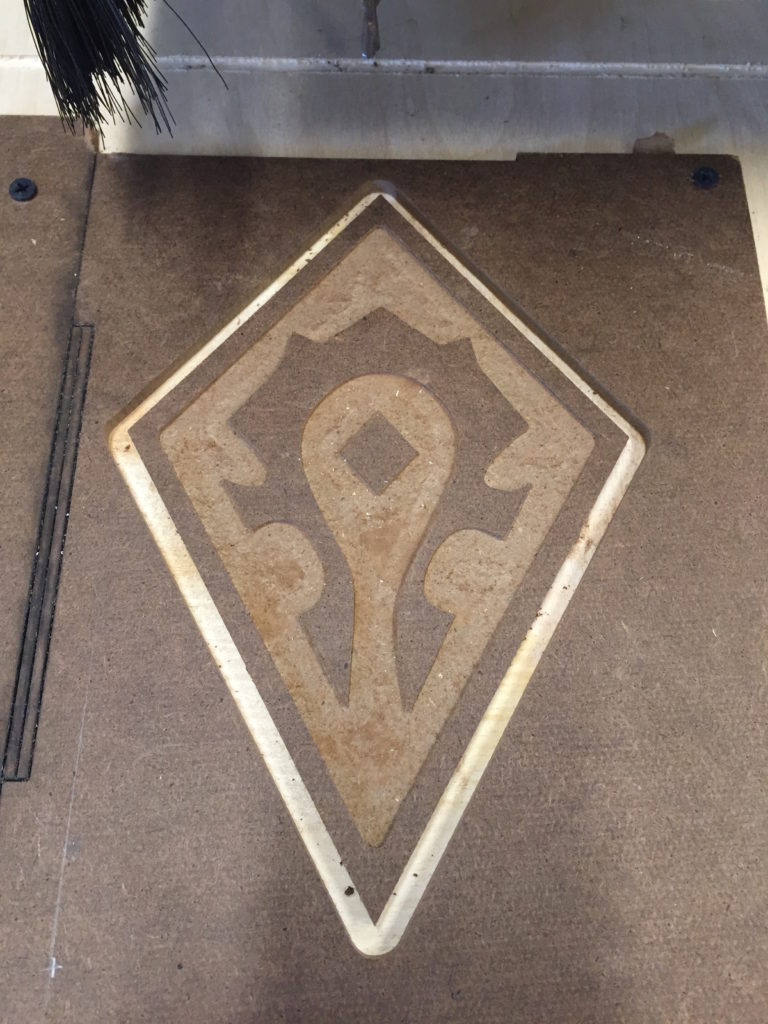
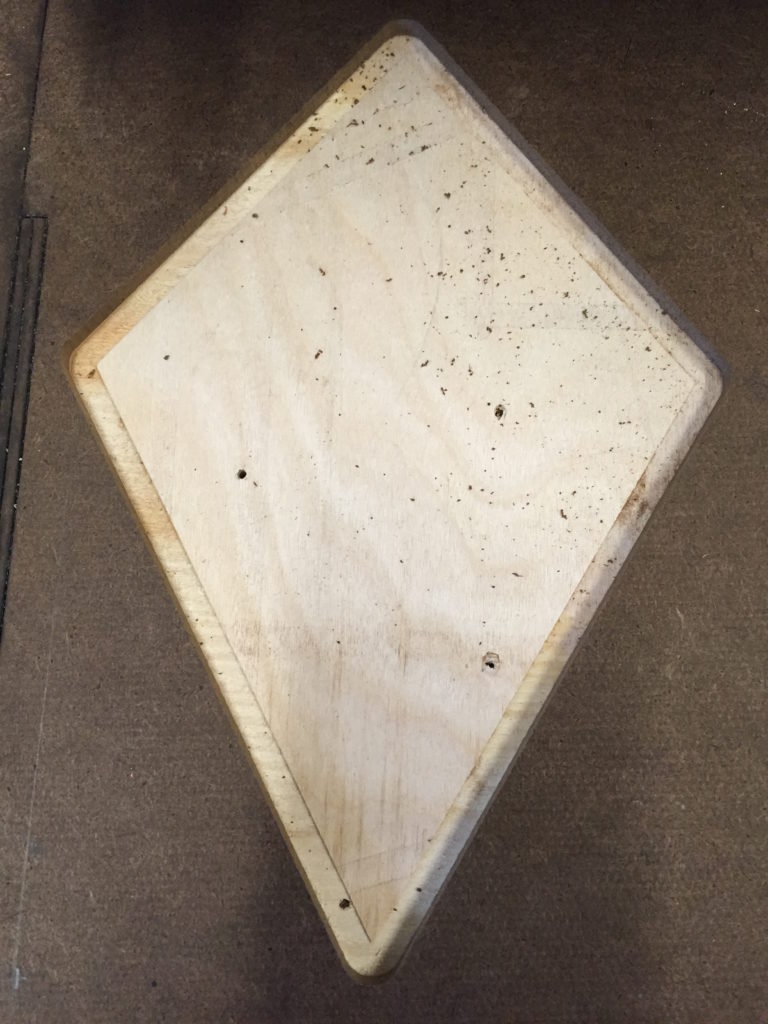
Sand and doc. I was quite satisfied with the work at last.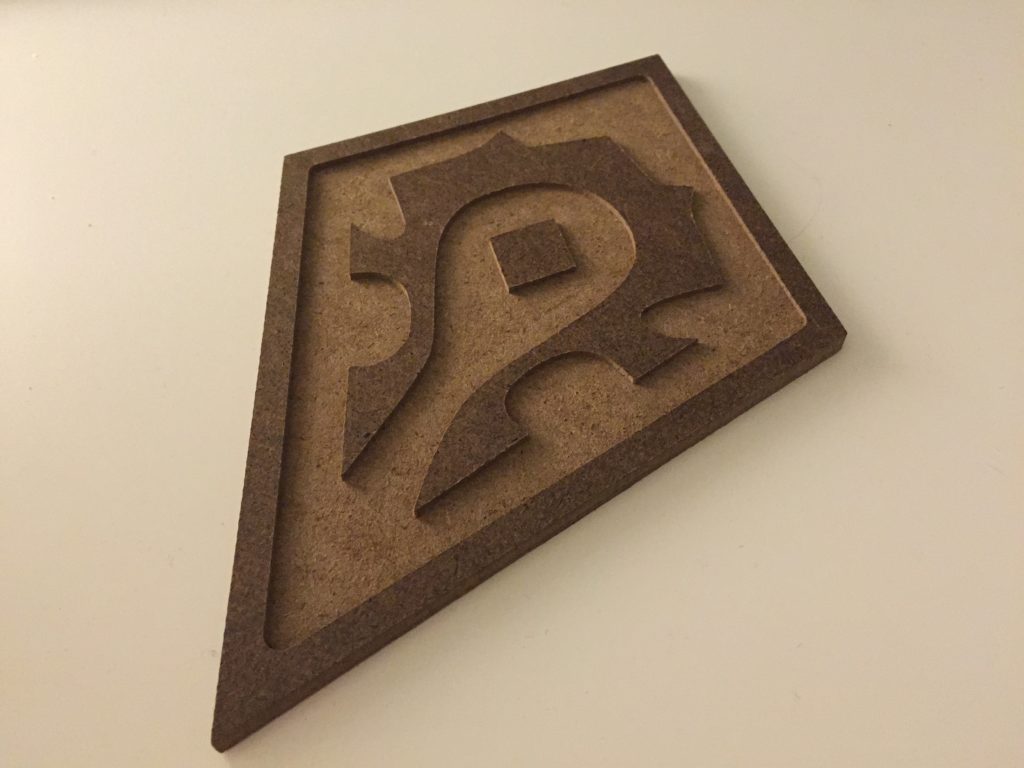
Further thinking:
The original Horde Crest depicts “iron and blood” quite well which is very much the spirit of the Horde. At least the pursuit for power and savageness are commonly shared. I feel my work contains less savageness as the original one. Maybe it’s the choice of material, maybe the lines are too symmetrical, but at least the color will do a lot. Maybe I’ll try to paint it or do this again on aluminum, add more spines, and see what I get.
Thinking about wood paint with black and red:
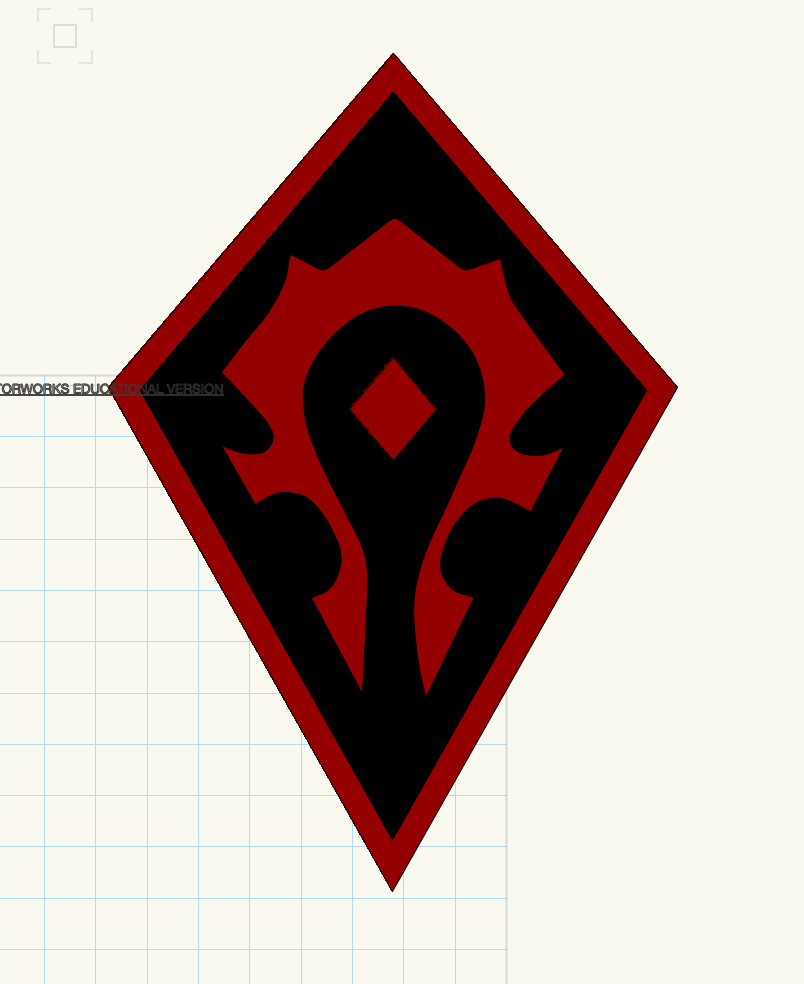
Or some traditional color:
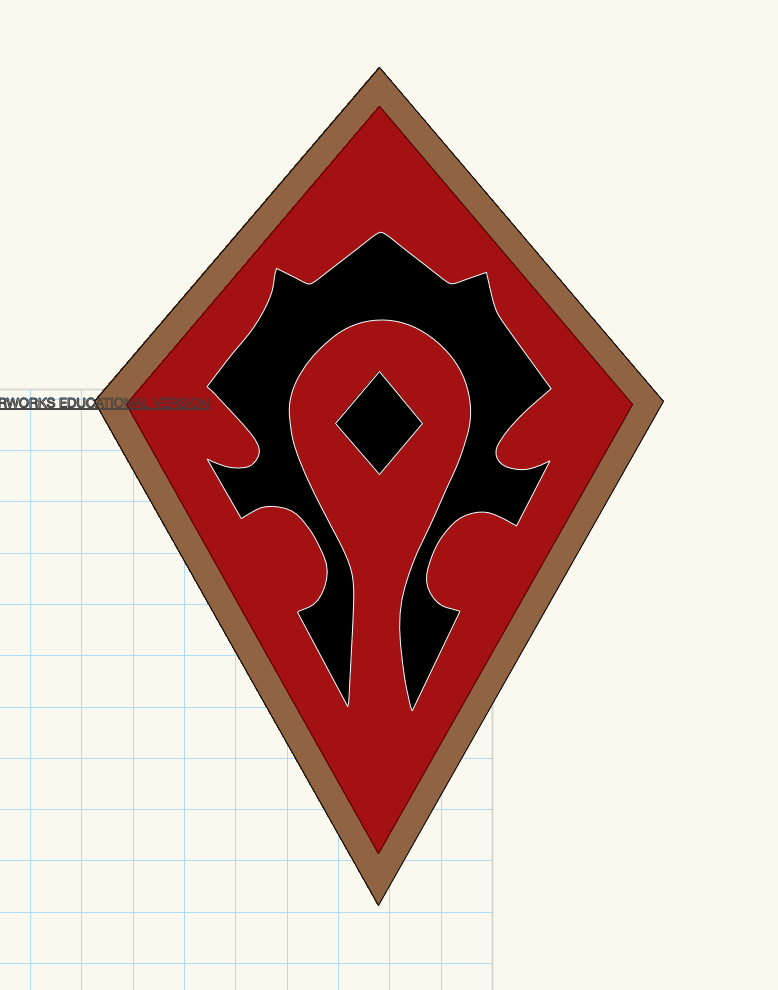
Also an option (as that in my cousin’s portait):
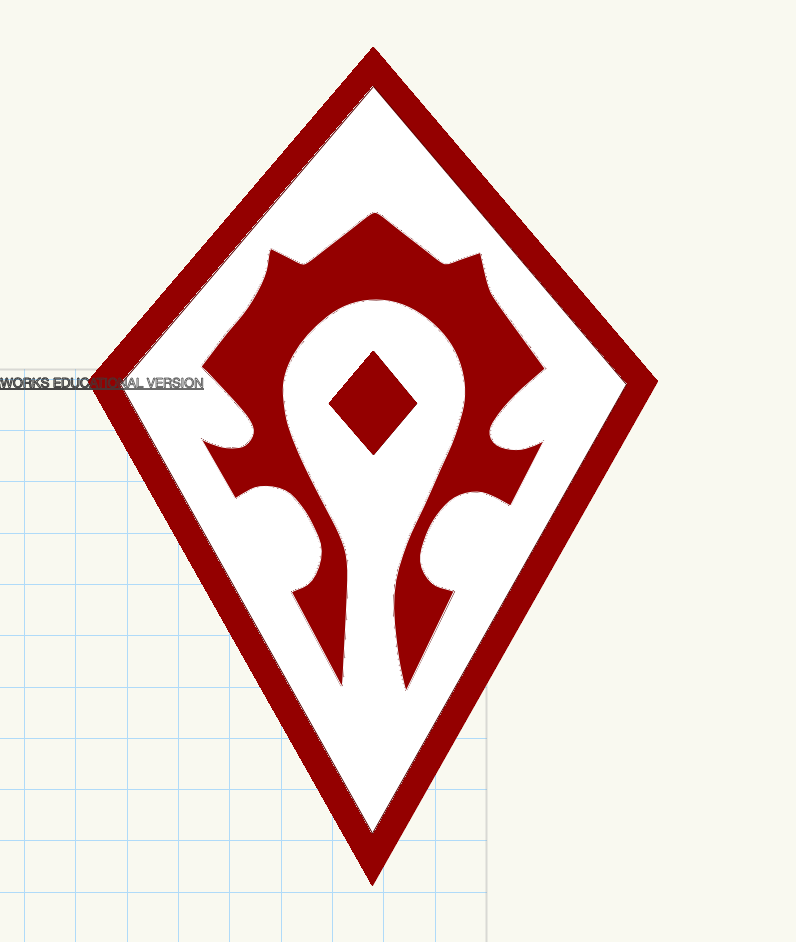
is there a possibility for you to share the G-code for the horde crest, i looked everywhere and i can’t find any. thank you
Hey,
Can You share files?